During this post I will be discussing with you the capabilities of the Internet site Picnik (2008). First I would like to show you an image that I uploaded from Flickr (2009).
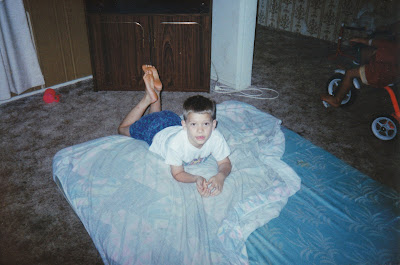
So this is the before.......
And this is the after.....
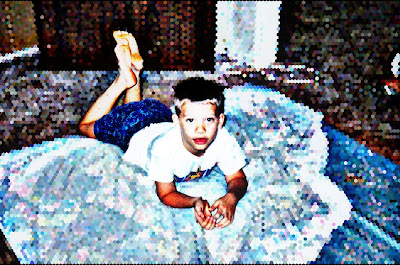
Now I did play around with the capabilities of Picnik quite a lot but I did choose to alter the image but still retain what I looked like. The options available are quite extensive, although it is disappointing that so many of them are only available through premium.
Just as a photo enhancer this program works quite well. For students using digital cameras, to have access to a program that can fix up any red eye, sharpen the image and fix problems with exposure would be quite advantageous.
If I were to use this in a classroom one aspect I could take advantage of would be to utilise this program in conjunction with the Arts Essential Learnings (QSA, 2009), specifically the Visual Arts. Students can work with the Picnik program to change the focus of certain digital images they are given such as adding light colours to bring them to the fore or darkening parts of an image to make it recede.
Thank you for reading,
- Alex Ricks
REFERENCES:
Flickr. (2009). Photostream. Retrieved July 30, 2009, from http://www.flickr.com/
Picnik. (2008). Photo editing made fun. Retrieved July 30, 2009, from http://www.picnik.com/
Queensland Studies Authority. (2007). The Arts Essential Learnings. Retrieved July 30, 2009, from http://www.qsa.qld.edu.au/downloads/learning/qcar_el_arts_yr5.pdf

Wow, I really like what you did with this picture. You kept the picture the same so it would retain it's original meaning, however brought the photo closer, sharpened the photo and used different effects.
ReplyDeleteIt really looks great! = )
I also liked the fact that it was a user friendly program.